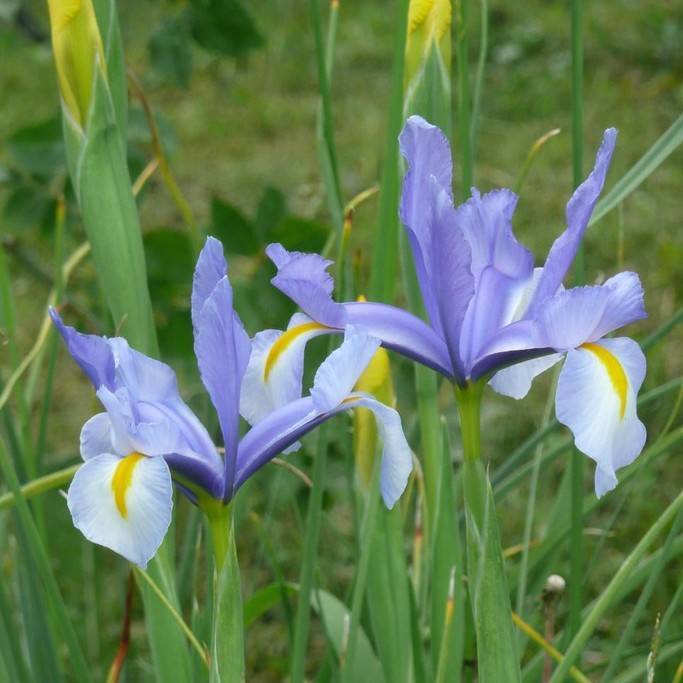
Dutch Iris
Iris × hollandica
Overview
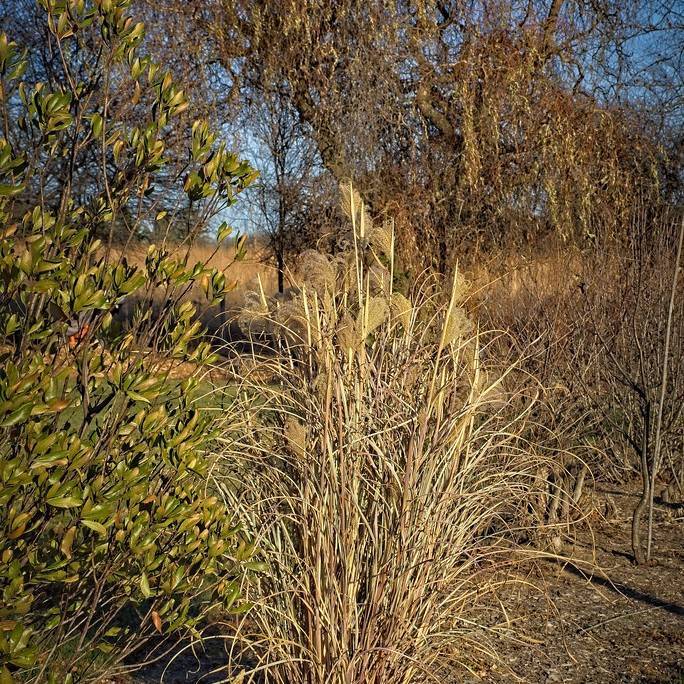
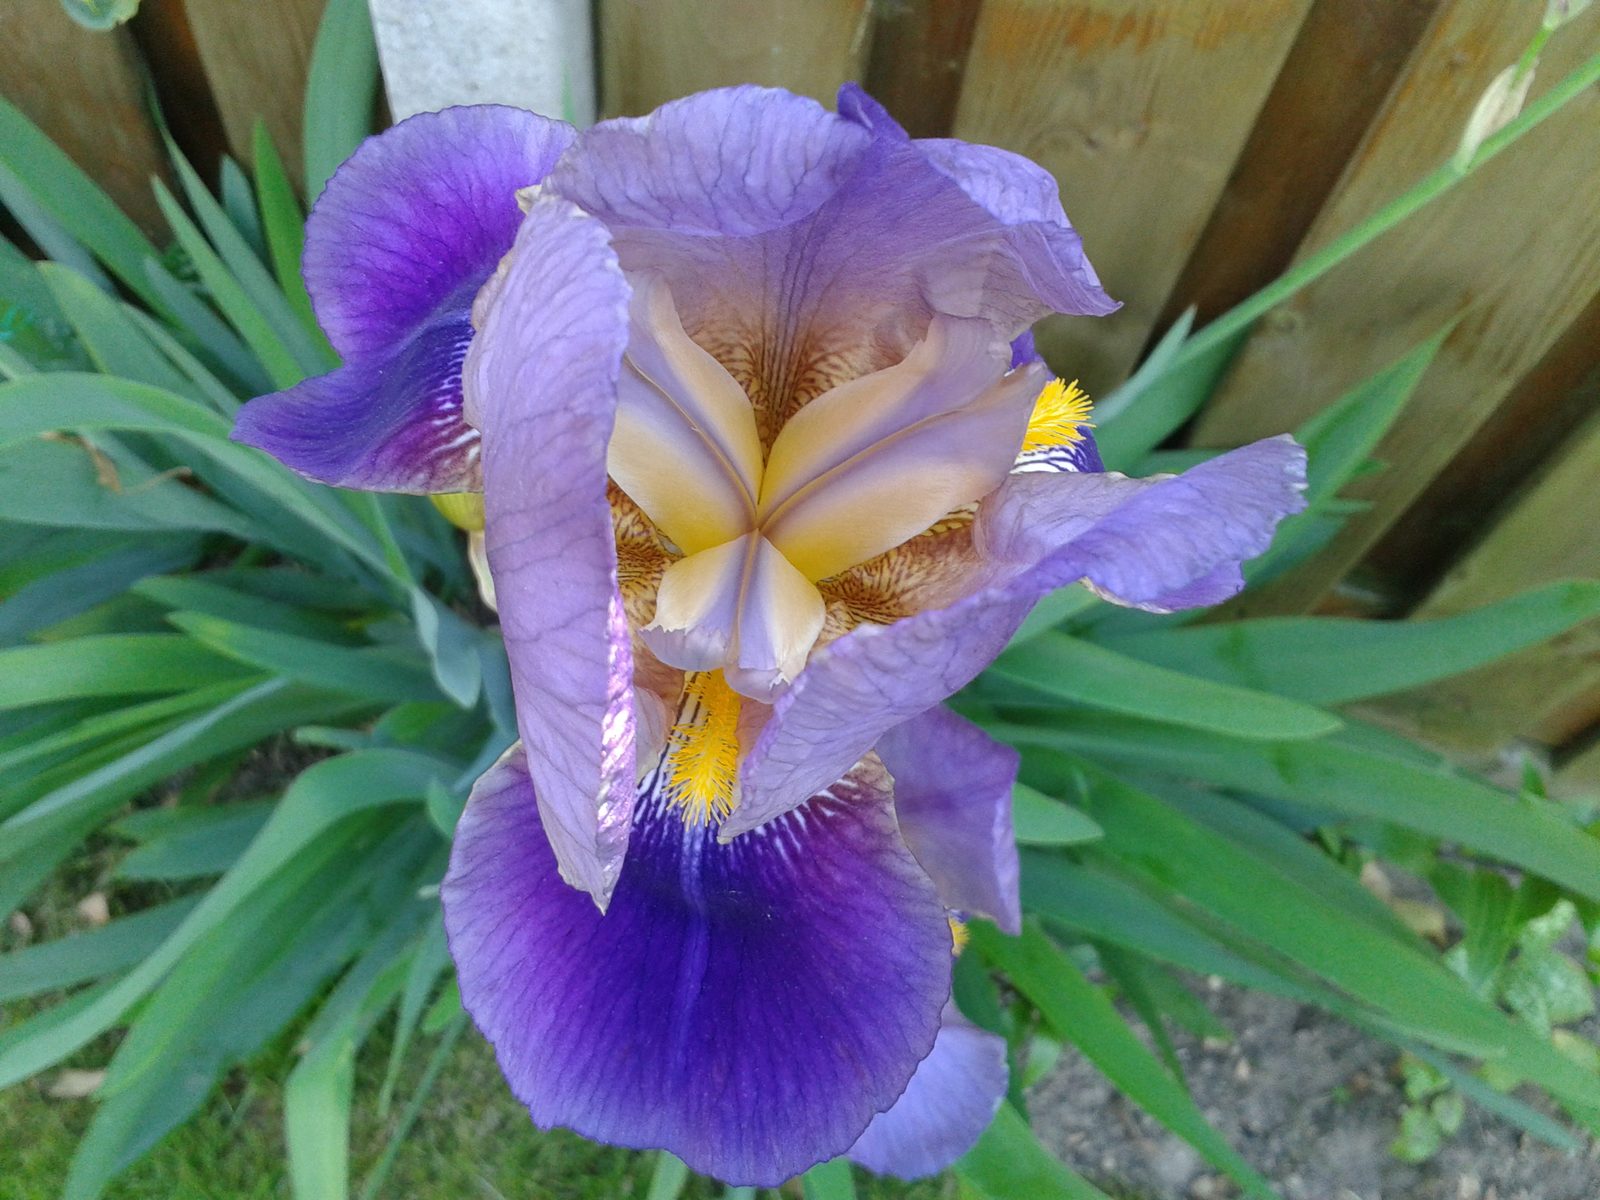
Dutch Iris are hybrid bulbous iris cultivars prized for their elegant, architectural blooms that rise above slender, sword-shaped grey-green foliage. Developed by crossing Iris tingitana, Iris xiphium, and other closely related species, they are one of the most widely grown iris types for cut flower production and home garden use. Unlike bearded irises, they have smooth, unadorned falls (lower petals) and a mild, subtle fragrance, blooming in mid to late spring after early spring bulbs have faded. They are reliably hardy in temperate regions and naturalize well in well-drained planting sites.
Care Guide
Watering
Water newly planted bulbs thoroughly after planting to settle soil around roots. During active growth in fall and spring, provide 1 inch of water per week, reducing frequency once foliage yellows and the plant enters summer dormancy. Avoid overwatering, especially in summer, as soggy soil will cause bulb rot.
Light
Grow Dutch Iris in full sun, defined as at least 6 hours of direct unfiltered sunlight per day, for the sturdiest stems and most abundant blooms. They can tolerate very light partial shade, but excessive shade will lead to weak, floppy stems and reduced flowering. In hotter regions, light afternoon shade can help prevent blooms from fading prematurely.
Soil
Plant bulbs in well-drained, loamy or sandy soil with a neutral to slightly alkaline pH between 6.0 and 7.5. Heavy clay soils should be amended with compost, perlite, or coarse sand to improve drainage, as waterlogged conditions will rapidly kill the bulbs. Raised beds are an excellent option for sites with poor native soil drainage.
Fertilizer
Apply a balanced, slow-release bulb fertilizer or a 10-10-10 granular fertilizer in early spring as new foliage emerges, working it lightly into the top inch of soil without disturbing the bulbs. Avoid high-nitrogen fertilizers, which promote excessive foliage growth at the expense of blooms. A light topdressing of compost in fall after growth begins can also support healthy root development.
Temperature
Dutch Iris are winter hardy in USDA zones 5 through 9, tolerating winter lows down to -20°F (-29°C) when bulbs are planted at the correct depth. They require a 12 to 16 week period of cool temperatures between 35°F and 45°F (1.7°C and 7.2°C) in winter to trigger proper bloom development. In warmer zones below zone 5, bulbs can be planted in fall for annual spring display, or pre-chilled for container growing.
Pruning
Remove spent flower stems after blooming by cutting them back to the base of the plant to prevent seed formation, which diverts energy from bulb growth for the next season. Leave the green foliage intact to photosynthesize and store energy in the bulbs, only cutting it back once it has turned completely yellow and died back naturally in mid to late summer. Remove any dead or diseased foliage promptly throughout the growing season to reduce pest and disease risk.
Propagation
Dutch Iris are most commonly propagated by dividing mature bulb clumps every 3 to 4 years in late summer, once foliage has fully died back. Dig up the clump, carefully separate the small offset bulbs from the parent bulb, discard any soft or rotted bulbs, and replant offsets immediately at the correct depth, spacing them 4 to 6 inches apart. They can also be grown from seed, but seed-grown plants will not retain the hybrid characteristics of the parent cultivar and will take 2 to 3 years to bloom.
Humidity
Dutch Iris adapt well to average outdoor humidity levels between 40% and 60%, requiring no special humidity adjustments when grown in garden beds. Excessively high humidity combined with poor air circulation can increase the risk of fungal leaf spot and bulb rot, so space plants adequately to promote airflow around foliage. When grown indoors as cut flowers, average household humidity is sufficient to extend bloom life.
Repotting
Container-grown Dutch Iris should be lifted and repotted every 2 to 3 years in late summer during dormancy to refresh soil and prevent overcrowding of bulbs. Use a well-draining potting mix formulated for bulbs, and plant bulbs 3 to 4 inches deep with the pointed end facing up, spacing 2 to 3 inches apart in the container. Ensure the pot has ample drainage holes to prevent standing water, and water sparingly after repotting until new growth emerges in fall.
Uses & Symbolism
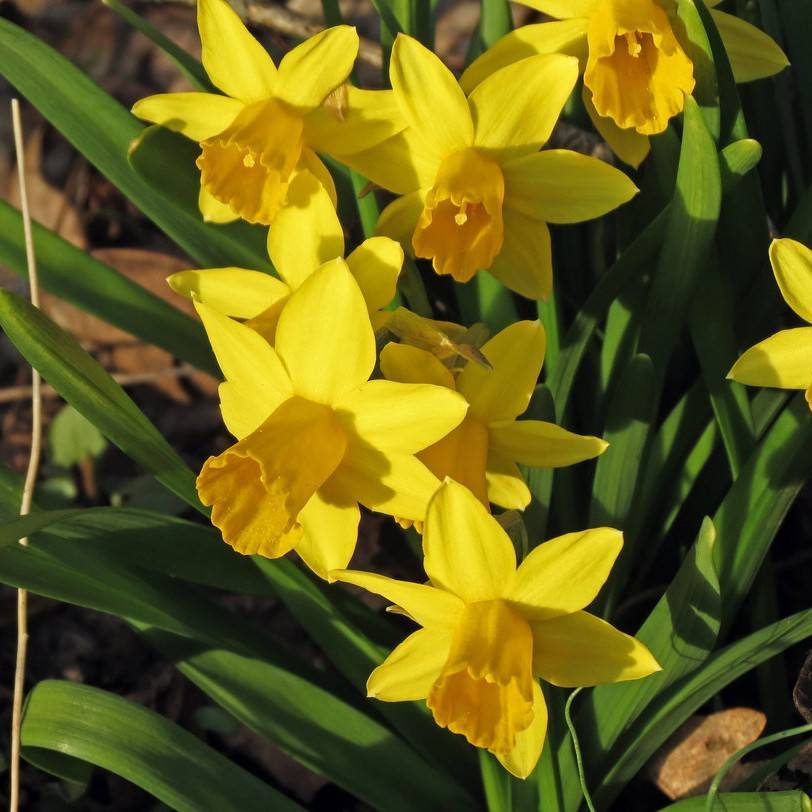
Dutch Iris are one of the most popular cut flowers for floral arrangements, with long, sturdy stems and blooms that last up to 2 weeks in a vase, making them a staple for both commercial cut flower farms and home cutting gardens. They are widely used in landscape design as border plants, in mass plantings for spring color displays, and in rock gardens, pairing well with other spring bulbs like tulips, daffodils, and hyacinths. Their compact size also makes them suitable for container growing on patios, balconies, and entryways for seasonal spring decoration.
Diseases & Pests
Dutch Iris are relatively pest and disease resistant when grown in well-drained soil, but they are susceptible to bulb rot caused by overwatering or poorly draining soil, which presents as soft, mushy bulbs and stunted, yellowed foliage. Fungal diseases like leaf spot and rust can occur in humid, crowded conditions, causing brown or orange spots on foliage; these can be managed by improving air circulation, avoiding overhead watering, and applying fungicide if infections are severe. Common pests include iris borers, thrips, and aphids, which feed on foliage and flower buds; infestations can be controlled with insecticidal soap, neem oil, or appropriate systemic insecticides for severe cases.
Related plants
Other plants you might like if you grow Dutch Iris.
%22%2F%3E%0A%20%20%20%20%20%20%3Ccircle%20cx%3D%22920%22%20cy%3D%22180%22%20r%3D%2290%22%20fill%3D%22%23cfe8d5%22%2F%3E%0A%20%20%20%20%20%20%3Cpath%20d%3D%22M600%20590c-90-180-215-255-310-280%200%20165%20118%20296%20270%20296h40z%22%20fill%3D%22%2379b88e%22%2F%3E%0A%20%20%20%20%20%20%3Cpath%20d%3D%22M600%20590c80-150%20198-212%20302-228-8%20142-123%20255-270%20255h-32z%22%20fill%3D%22%235c9f73%22%2F%3E%0A%20%20%20%20%20%20%3Cpath%20d%3D%22M600%20610V360%22%20stroke%3D%22%234f8c64%22%20stroke-width%3D%2218%22%20stroke-linecap%3D%22round%22%2F%3E%0A%20%20%20%20%20%20%3Ctext%20x%3D%22600%22%20y%3D%22700%22%20text-anchor%3D%22middle%22%20font-family%3D%22Arial%2C%20sans-serif%22%20font-size%3D%2244%22%20fill%3D%22%23365c45%22%3E%0A%20%20%20%20%20%20%20%20Plant%20image%20coming%20soon%0A%20%20%20%20%20%20%3C%2Ftext%3E%0A%20%20%20%20%3C%2Fsvg%3E%0A%20%20)