How to Make a Plant Time-Lapse Without a Camera Rig (Using AI in 2026)
Skip the tripod, grow-cam, and editing software. Learn how to make a beautiful plant time-lapse from a handful of phone photos, using AI image-to-video models like Seedance 2.1 and Seedance 3.0.
How to Make a Plant Time-Lapse Without a Camera Rig (Using AI in 2026)
For about fifteen years, the only way to get a watchable plant time-lapse was to commit to a rig: a tripod, a phone holder, a power cable, a piece of tape on the floor, and three weeks of not moving the plant. Then you’d spend an evening culling 4,000 mostly-identical photos into a 12-second clip. Most people quit halfway through.
In 2026, you don’t need any of that. Modern AI image-to-video models — especially the latest Seedance 2.1 and Seedance 3.0 releases from ByteDance — can take a handful of dated phone photos and produce a smooth, believable growth video without you owning a single piece of camera gear.
This guide walks through exactly how to do that, the photos to take, the mistakes to avoid, and where Sproutly fits in for plant parents who don’t want to manage any of this manually.
Why the Old-School Plant Time-Lapse Doesn’t Work for Most People
Before we talk about how to skip it, it’s worth being honest about why the traditional approach fails for most plant parents:
- You have to commit your plant. Once the rig is set up, you can’t move the plant — not to water it on the other side of the room, not to rotate it for even light, not to take a photo for a friend. The plant becomes a prop for the camera.
- Lighting changes ruin the footage. A south-facing window will look completely different at 8am versus 6pm. To get a clean time-lapse, you either need controlled lighting (expensive) or you need to throw out 80% of your frames.
- Battery and storage are real problems. A phone or webcam shooting every few minutes for a month chews through power and storage faster than you’d think.
- Editing is its own learning curve. Even after you have the footage, you still need to drop it into editing software, set frame rates, color-correct, crop, and export. That filters out almost everyone.
Plants change slowly — that’s exactly why the format is interesting. But it’s also why the old workflow is so disproportionate to the reward.
What “AI Time-Lapse” Actually Means
The 2026 version of a plant time-lapse works in a fundamentally different way.
Instead of capturing every frame, you capture keyframes — a few clear, dated photos of your plant. An AI image-to-video model then generates the in-between motion: a leaf unfurling, a stem growing taller, a flower opening. The model doesn’t invent the plant; it uses your photos as anchors and fills in plausible movement between them.
This works because the models — Seedance 2.1 and Seedance 3.0 are the current sweet spot — are trained on enormous amounts of real-world motion and can produce visually consistent transitions between similar reference images.
A practical way to think about it:
Traditional time-lapse = thousands of frames, mostly identical, that you compress into 15 seconds. AI time-lapse = 5–20 keyframes that the model expands into 15 seconds of smooth motion.
The end result is similar. The cost — in time, attention, and gear — is about 1% of the old way.
What You Actually Need (And What You Don’t)
To make a plant time-lapse in 2026, here’s the gear list:
- A phone.
That’s it. No tripod, no smart bulb, no time-lapse app, no editing software, no extra storage subscription. Everything else lives in the model.
Specifically, you don’t need:
- A fixed camera position
- Identical lighting in every photo
- A grow-cam or webcam pointed at the plant
- Adobe Premiere, DaVinci Resolve, or any video editor
- A YouTube tutorial on “best time-lapse settings for plants”
The only thing you actually have to be slightly intentional about is the photos themselves. We’ll cover that next.
The Photo Recipe That Makes AI Time-Lapse Look Good
The quality of your time-lapse is almost entirely determined by the photos you feed in. Good news: the bar is much lower than for a traditional rig.
1. Pick one consistent angle
You don’t need to lock the phone in place, but try to take each photo from roughly the same angle and distance. “Standing in front of the plant, phone at chest height, plant filling about 70% of the frame” is enough of a rule.
The AI doesn’t need pixel-perfect alignment. It needs the plant to be recognizable as the same plant.
2. Use natural light when possible
Photos taken in window light tend to keep the plant’s real color. Mixing one daylight shot with one harsh overhead-light shot makes the model work harder to keep things consistent, and the in-between frames can look weirdly “lit” in ways that don’t match the room.
If you can, take each photo at roughly the same time of day — late morning is forgiving.
3. Clean backgrounds help, but aren’t required
A cluttered background isn’t a dealbreaker. But if you can take the photo against a wall, a sheet of paper, or any roughly-plain surface, the model has an easier time keeping the background stable through the generated motion.
4. Capture milestones, not minutes
For traditional time-lapse you’d shoot every few minutes. For AI time-lapse, shoot when something visibly changed:
- New leaf budding
- Leaf fully unfurled
- After a watering, when the plant has perked up
- After a repot or move
- Before and after fertilizing
Five to fifteen keyframes spaced over a few weeks is plenty. Twenty is great. There’s no benefit to a hundred photos in this workflow.
5. Don’t hide the plant from itself
The most common mistake is to start cropping or zooming differently for each photo. Keep the whole plant in frame each time, even if the leaves grow past where you originally framed it. The model uses overall silhouette and growth habit to maintain consistency, and a tightly-cropped photo of one leaf followed by a wide shot of the whole plant will confuse it.
Three Time-Lapse Formats Worth Making
Once you have a small set of dated photos, you have three different short-video formats available to you. Each one matches a different model strength.
Format 1: The 10-Second Growth Loop (Seedance 2.1)
This is the most common output. Two to four keyframes — say, “seedling on day 1” and “plant on day 21” — fed into Seedance 2.1 produce a smooth, looping 10-second clip of the plant filling out.
This is the format people post on social. It’s short, the motion is gentle, and the file size is tiny enough to share over messaging apps without compression artifacts.
Format 2: The Care Recap (Seedance 2.1)
Five to ten dated photos over a few weeks become a 15–20 second “here’s what happened” reel. The model holds the camera roughly steady and lets the plant do the changing.
The big win of this format is that you can layer captions — what you actually did on each date (“moved to brighter window,” “repotted into 6-inch terracotta,” “first new leaf”) — so the video is also a care log.
Format 3: The Seasonal Story (Seedance 3.0)
For longer projects — a full season of a houseplant, an outdoor Japanese maple from bud break to autumn color, a vegetable from seedling to harvest — Seedance 3.0 is the better fit. It can hold the same plant identity across longer outputs and produce native 4K, so the final video looks like something you’d actually want to keep.
This is the format that turns into a year-end recap, and it’s the one most worth the small extra compute cost.
A Practical Step-by-Step
Putting it all together, here’s the simplest workflow that consistently produces a good plant time-lapse without any rig.
- Identify the plant. Knowing the species matters because growth speeds and visual patterns vary. Sproutly’s free plant identifier gives you both the ID and the care profile in one scan.
- Take a baseline photo. Same angle, natural light, full plant in frame. Save the date.
- Take a new photo whenever something visibly changed. Don’t force it — just one whenever a leaf opens, a stem stretches, or recovery happens after stress.
- At week 3 or 4, look at your set. If you have 5+ photos, you’re ready to generate.
- Pick a format — Growth Loop, Care Recap, or Seasonal Story — based on how much footage you’ve accumulated and what you want to share.
- Generate, label, post. Honest practice is to label AI-generated motion as such; the underlying plant and dates are still real.
For a deeper look at how Seedance 2.1 and Seedance 3.0 differ, including which one is the right pick for each format, see our pillar guide: Seedance 3.0 and Seedance 2.1 for Plants.
Where Sproutly Fits In
You can do all of this manually — pile photos into a folder, drop them into an AI video tool, write your own caption — and it will work.
What we’re building at Sproutly is the version where you don’t have to.
- You identify the plant once from a phone photo.
- You care for it normally: water, fertilize, repot, log a recovery. Each event automatically attaches the photo you took with it to the plant’s timeline.
- When you’re ready, you tap “Make Video” on the plant’s profile, pick a format, and the right model — Seedance 2.1 for short clips, Seedance 3.0 for longer recap reels — generates the video and saves it back to that plant’s timeline.
In other words, your day-to-day care is the time-lapse pipeline. You don’t set up a rig because you don’t need to remember to take separate “time-lapse photos” at all. The photos you’re already taking become the keyframes.
That’s the version of plant time-lapse that finally fits the way real plant parents use their phones.
Common Mistakes (and How to Avoid Them)
A few recurring failure modes are worth flagging:
- Wildly different framings. A close-up of one leaf followed by a far shot of the whole plant gives the model two very different anchors. It will guess at the in-between and the result will feel like a zoom, not growth. Keep the framing roughly the same.
- Mixing day and night photos. A flash-lit night photo next to a soft daylight one creates jarring color transitions. Stick to daylight if you can.
- Cropping the new growth out. As your plant grows, the new leaves often appear above your old framing. If you keep the same crop, you literally crop out the most interesting part of the growth.
- Trying to fake a longer timeline. Two photos taken two days apart aren’t a season. The motion the model produces will look right; the story won’t. Be patient — the format only pays off with real time between the keyframes.
- Forgetting to identify the plant. This sounds optional but it isn’t: knowing the species lets you set realistic expectations for what changes are even visible at the time scale you’re shooting. A snake plant changes much more slowly than a pothos. Use Sproutly’s identify tool on day one.
Frequently Asked Questions
Can I really make a plant time-lapse without a tripod?
Yes. The reason traditional time-lapse needed a tripod was to keep the camera frame perfectly identical across thousands of photos. AI image-to-video models like Seedance 2.1 and Seedance 3.0 only need a handful of keyframes from roughly the same angle, so a handheld phone photo every few days is enough.
How many photos do I need for a good AI plant time-lapse?
Five to fifteen dated photos over a few weeks is the sweet spot for a 10–20 second clip. For a full seasonal recap, 15–30 photos spread across the season produces a strong narrative without overwhelming the model. There’s no real benefit to more than that — extra photos rarely improve the output once you’re past 30.
Will my plant look like itself or a generic AI version?
With good input photos, the model anchors on your actual plant. Identity stays close to the reference images, especially with Seedance 3.0’s narrative memory chain, which is built to preserve subjects across longer outputs. The motion between frames is generated, but the plant in those frames is yours.
What if I missed a week and didn’t take any photos?
That’s fine. AI time-lapse is forgiving about gaps because it’s already filling in motion between non-consecutive frames. A two-week gap looks no different from a two-day gap, as long as you have photos on either side.
Is this honest content, or is it fake?
The honest framing is: your plant is real, the dates on your photos are real, the care events are real. The motion between frames is generated. We always recommend labeling AI-generated motion as such — it’s closer to a thoughtful montage than a fake, but viewers deserve to know which parts the model produced.
Can I do this with outdoor plants too?
Absolutely — outdoor plants are often the best subjects, because seasonal change is dramatic and visible. A Japanese maple from bud break through autumn color, a vegetable bed from seedling to harvest, or a flowering shrub through one bloom cycle all work beautifully, especially in the longer Seasonal Story format powered by Seedance 3.0.
Start Your Plant Time-Lapse Today
The barrier to making a beautiful plant time-lapse used to be a tripod, a power outlet, and a month of standing still. In 2026 the barrier is just taking a few good photos over a few weeks.
That’s a barrier almost anyone can clear. Open Sproutly, identify your plant, and snap your first baseline photo today. Add a new one whenever something changes. By the time you have five, you have a video — and by the time you have twenty, you have a story.
If you want a deeper look at the models behind it, our companion guide breaks down how Seedance 3.0 and Seedance 2.1 power Sproutly’s plant videos, and which format fits which plant in your collection.
Leitura relacionada
Mais guias que pode gostar
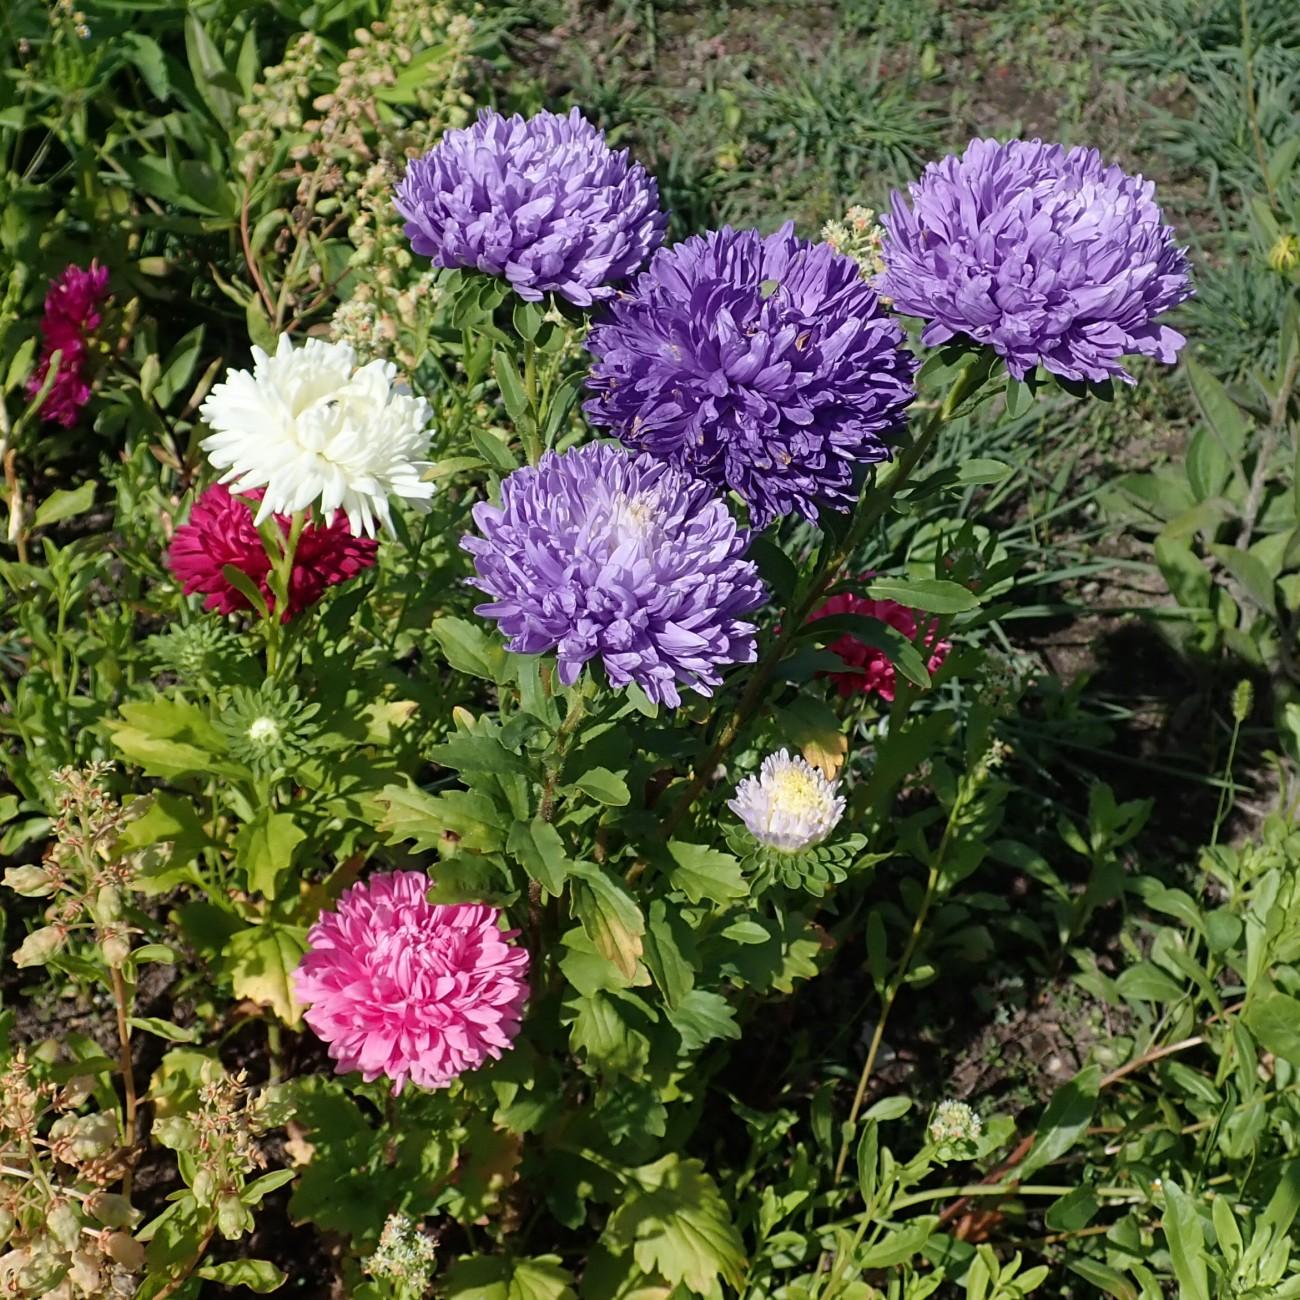
China Aster: Complete Care, Growing Guide, and Varieties
Learn how to grow and care for China aster (Callistephus chinensis), a pet-safe, full-sun flower that delivers long-lasting garden color for months.
2026-07-04 · 17 min read
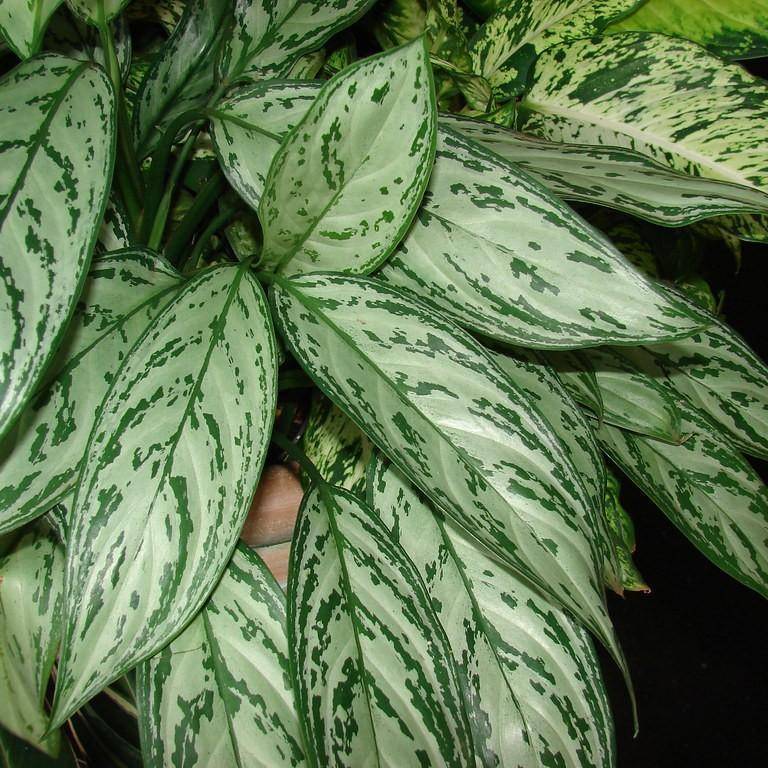
Chinese Evergreen: Care Guide, Varieties, and Growing Tips for Aglaonema
Learn how to care for Chinese evergreen (Aglaonema) houseplants, plus top varieties, troubleshooting tips, and pet safety details for this low-fuss indoor plant.
2026-07-04 · 14 min read
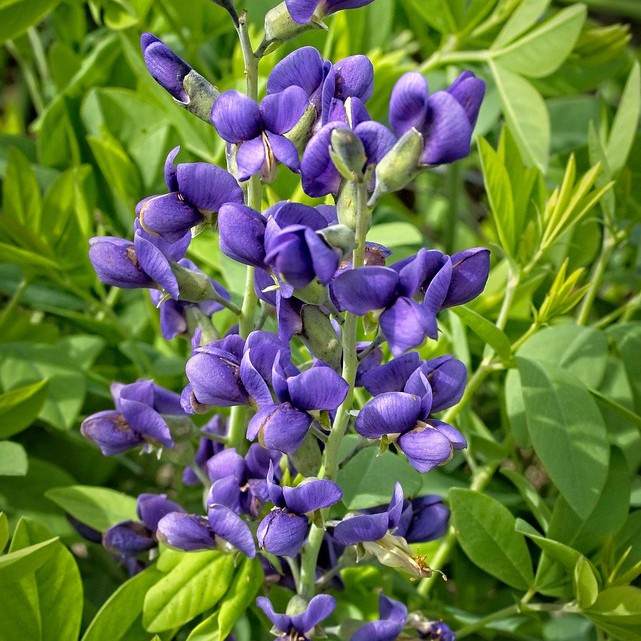
Caryopteris Clandonensis Heavenly Blue: Care, Size, and Growing Guide
Learn how to grow and care for Caryopteris Clandonensis Heavenly Blue, a pet-safe, flowering bluebeard shrub ideal for full-sun gardens.
2026-07-03 · 8 min read